The Ultimate Classic Chocolate Chip Cookie Recipe: Chewy & Gooey
Craving the perfect treat? Learn how to bake the ultimate classic chocolate chip cookies with a crispy edge and a soft, gooey center. Simple, delicious, and bakery-style!
5/30/20264 min read
The Ultimate Classic Chocolate Chip Cookie: A Love Letter to Perfection
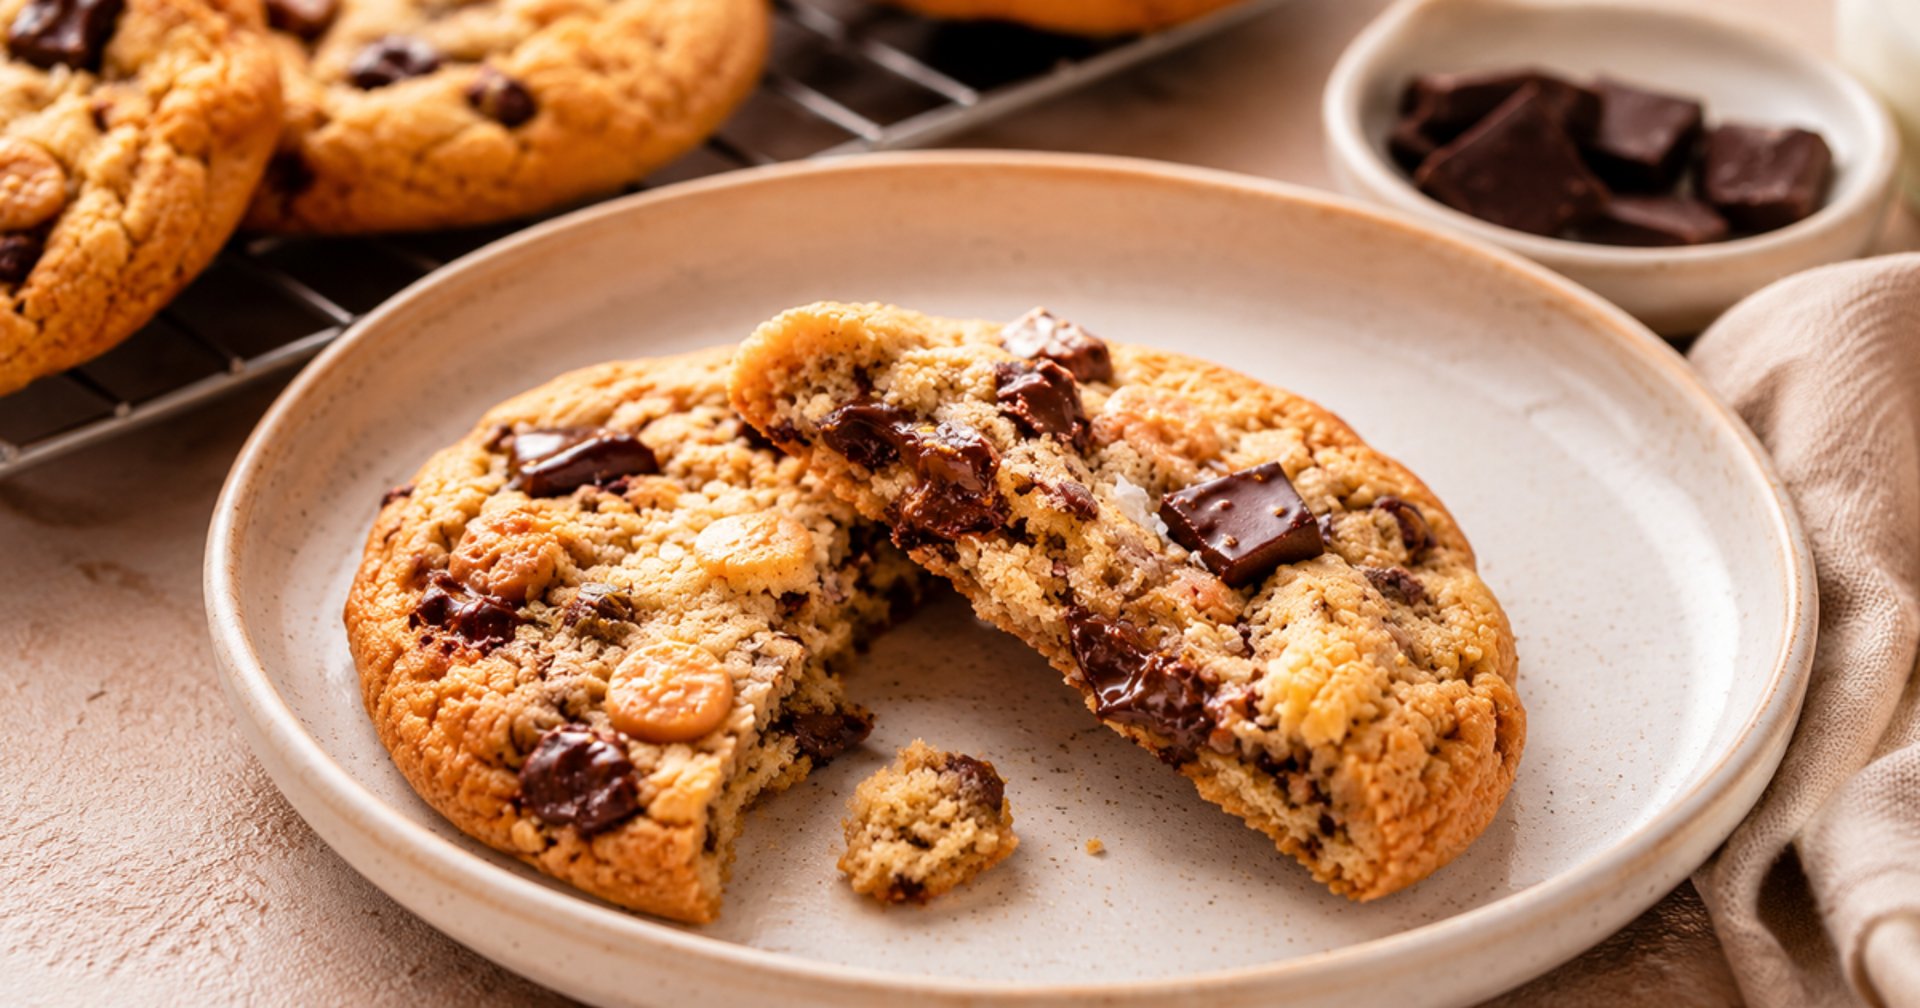
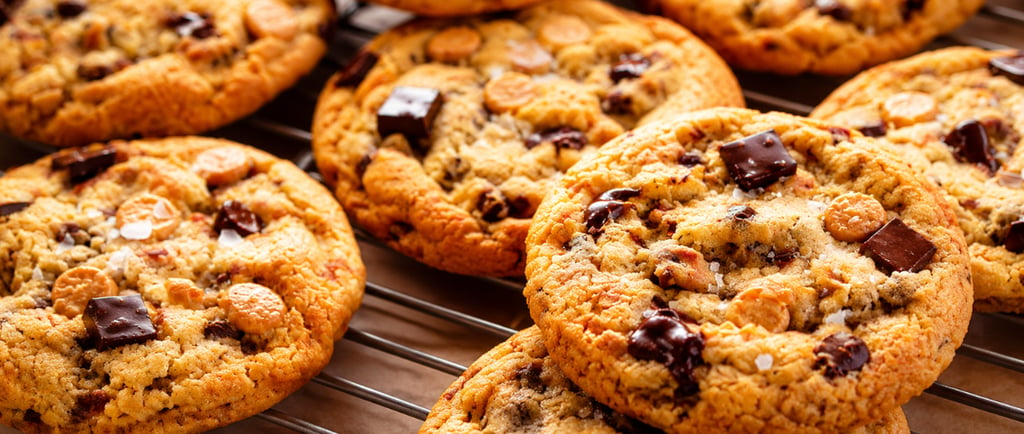
There are very few things in life as comforting, nostalgic, and genuinely soul-satisfying as a warm, classic chocolate chip cookie. You know the one: crispy and golden around the edges, soft and chewy in the center, and loaded with pockets of melted, gooey chocolate. It’s not just a dessert; it’s a hug in food form.
Whether you’re having a tough week, celebrating a small win, or just craving a midnight snack, this recipe is your golden ticket. I’ve spent years tweaking, testing, and obsessing over the "perfect" ratio, and I’m so excited to share this version with you. Forget the store-bought plastic-wrapped stuff—this is the real deal.
Why You’ll Fall in Love with These Cookies
What makes a cookie truly "the best"? It comes down to texture and flavor balance. We want a bit of salt to cut through the sweetness of the brown sugar, and we want enough fat to keep the center soft for days. This recipe achieves that "bakery-style" look and taste without needing a culinary degree.
The magic happens with the brown sugar. By using a higher ratio of brown sugar to white sugar, we ensure the cookies stay chewy and have a subtle caramel-like depth. And the chocolate? Don't skimp. Use high-quality semi-sweet chips or chop up a premium chocolate bar for those gorgeous, irregular chocolate puddles.
Ingredients You’ll Need
To get that perfect result, here is what you need to gather. Don't worry about being a professional—just grab these basics:
All-Purpose Flour: 2 ½ cups (The backbone of our cookie).
Baking Soda: 1 tsp (For that perfect rise).
Sea Salt: ½ tsp (Essential to balance the sugar).
Unsalted Butter: 1 cup (2 sticks), softened to room temperature.
Brown Sugar: ¾ cup, packed (Adds moisture and chew).
Granulated Sugar: ½ cup (Gives us those crispy edges).
Large Eggs: 2 (At room temperature is best).
Vanilla Extract: 2 tsp (Use the good stuff, it makes a huge difference!).
Chocolate Chips: 2 cups (Semi-sweet is classic, but mix in milk or dark if you like).
Need Substitutions? No Problem!
Cooking is about flexibility. If your pantry is looking a little bare, here’s how to pivot:
No Brown Sugar? You can use white sugar, but you’ll lose some chew. Add a tablespoon of molasses to your white sugar if you have it!
Need Vegan? Swap the butter for a high-quality vegan butter stick and use a flax egg (1 tbsp ground flaxseed + 3 tbsp water per egg).
Out of Chocolate Chips? Roughly chop any chocolate bar you have in the cupboard. Honestly, big chunks are sometimes better than uniform chips.
The Step-by-Step Guide to Cookie Perfection
1. Prep Work
Preheat your oven to 350°F (175°C). Line your baking sheets with parchment paper or a silicone mat. This prevents sticking and ensures even browning.
2. The Creaming Phase
In a large bowl, beat your softened butter, brown sugar, and white sugar together. Do this for a good 3–4 minutes until the mixture looks pale and fluffy. This step incorporates air, which is the secret to a soft cookie!
3. Wet Ingredients
Add the eggs one at a time, beating well after each. Pour in that beautiful vanilla extract. Give it a final mix until everything is smooth and combined.
4. The Dry Mix
In a separate bowl, whisk your flour, baking soda, and salt. Gradually add this to your wet ingredients. Pro Tip: Only mix until the flour just disappears. If you overwork the dough, your cookies will end up tough, and we want them tender!
5. The Grand Finale
Fold in those chocolate chips with a spatula. Don't be shy!
6. The Chill (The Secret Step!)
If you have the patience, put your bowl of dough in the fridge for at least 30 minutes. This helps the flour hydrate and prevents the cookies from spreading too much in the oven. It creates a deeper, more "toffee-like" flavor.
7. Baking
Scoop rounded tablespoons of dough onto your prepared sheets. Bake for 10–12 minutes. They might look a little underdone in the center, but trust me—pull them out! They will finish setting on the hot tray.
How to Enjoy Them Like a Pro
The absolute best way to eat these is warm, maybe five minutes after they come out of the oven, with a tall, cold glass of milk. If you’re feeling extra indulgent, sprinkle a tiny pinch of flaky sea salt on top right when they come out of the oven. It makes the chocolate taste so much richer.
If you have leftovers (which is rare!), store them in an airtight container at room temperature for up to 4 days. If they start to get stale, pop one in the microwave for 10 seconds, and it’s like it just came out of the oven.
Final Thoughts
There is something so therapeutic about making a batch of cookies from scratch. The smell that fills your house is better than any candle you could buy. It’s an invitation to slow down, take a breath, and enjoy the sweeter things in life.
I hope you get a chance to bake these soon, Hagar. Whether you're sharing them with friends or keeping them all for yourself (I don't judge!), I really hope they bring a smile to your face. Let me know how they turn out!
Enjoy your baking session, and don't forget—there's no such thing as too much chocolate!